
Ahhh. Look at that wonderful croissant. Oh, and here is another.

Two croissants you ask? Why two croissants? Well, this week Caitlin decided that she wanted to get in on the action and tried her hand at her first batch, so this week I am going to cover her batch, my batch and then talk about Saccharomyces cerevisiae, more commonly known as yeast.
To those who are new and to those still wondering how you came to this newsletter of mine, hi. This is the newsletter of Matthew Whittemore where I'm writing about my first 12 batches of croissants. I probably added you to this list as a way to share this journey with you. If you'd like to unsubscribe, please feel free do to so by clicking the link at the bottom of this email. And if you'd like to start reading from the start, you can do so by going here.
The Great Whittemore Bake Off

On Friday afternoon Caitlin texts me a link to this blog post about someone making croissants. It is more an advertisement than an informational piece on how to bake a croissant. It gives little instruction on how the process works and completely leaves out how much butter (butter!) one might need to make the recipe. And yet, replacing water/eggs/sugar with vanilla and milk sounded interesting. That said, after bake 2 and bake 7 I have learned my lesson and said I was not going to try some experimental bake and so Caitlin called for a bake off.
In her corner, our attempt to turn the above sparse notes into a plan.
In my corner, some tweaks to the recipe used last week. Specifically I increased the amount of yeast, followed new blooming instructions, and made the block of butter thicker. Thicker butter is supposed to produce better lamination.
As good parents, we made our oldest kid decide whose croissant was better. And the winner was... the coffee shops'. But really, while vanilla and milk sounded like good idea, the dough didn't work, and at the same time the modifications made to the tried and true recipe brought it up another level. But don't trust me, here is Caitlin's expert review.
Expert rating:
- Experimental: 1 out of 10
- Tried and true: 9.5 out of 10
More about the tried and true modifications

The main problem I've had through all the bakes is getting the dough to raise. For most of the time this has felt like a proofing problem, but after last week's success with the partially open oven I knew I needed to make more modifications to get the light airy wonders I want. My solution was three fold.
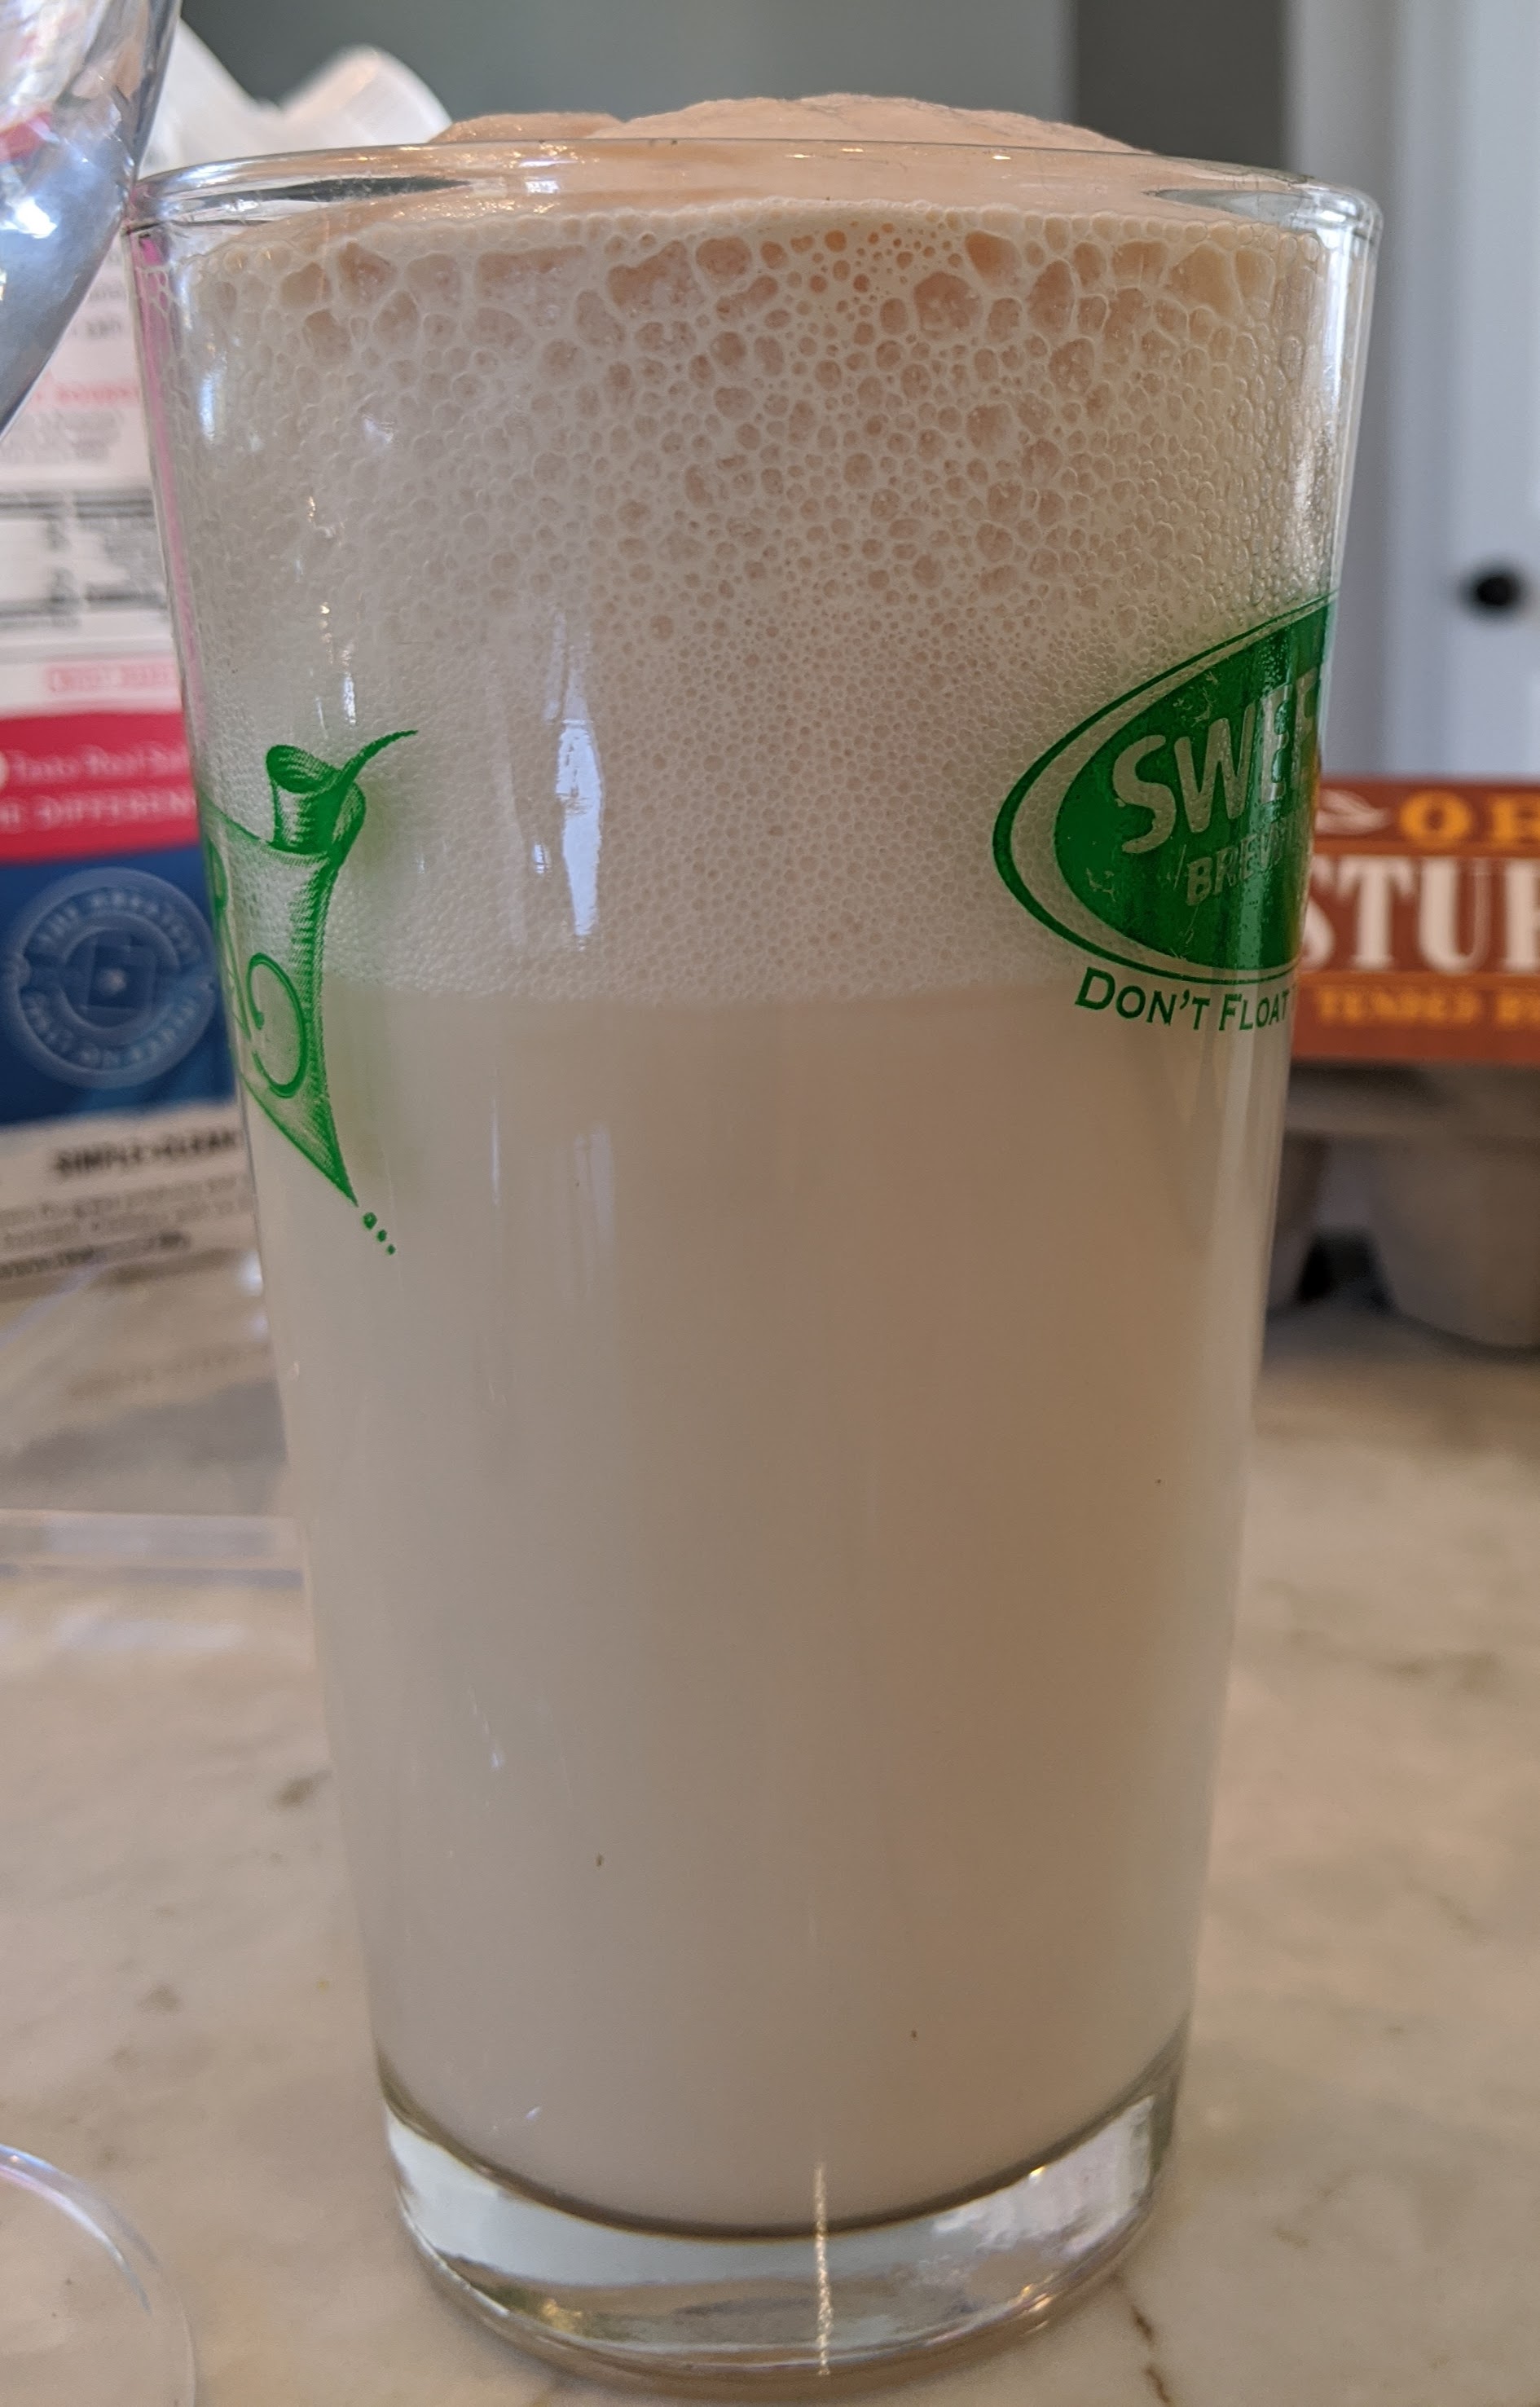
First, add more yeast. I worried this would make the croissants taste doughy, but since I was having problems with getting them to rise, it seemed the worth the risk. Also, I've been using the Red Star yeast packets and always had a bit left over that I find hard to store so I figured why not toss it all into the dough?
Second, learn how to bloom yeast. The base recipe video seemed to imply that this didn't really matter and so I hadn't given it much notice but 8 weeks breaks down ones trust. After getting some emails mentioning that people didn't really understand the blooming part either, I decided to find instructions just on blooming and wow, what they suggested was both more "this matters" and effective.
Lastly, I decided to shrink my butter and dough blocks without using less ingredients. This means that the butter and the dough were thicker which helps ensure that the layers don't blend together. I've had OK lamination in the past, I was hoping this would ensure great lamination. I also considered use the book fold (as has been suggested via emails by some of you) but couldn't get myself to accept fewer layers.
For those of you who, like me, hadn't heard the term book fold before, the idea is that you fold the dough into quarters each time resulting in 4 layers per turn. This can get you 16 layers in two turns and is often used as a way to save time and decrease the risk that the butter layers get too thin.
All in all, I think these mods were just what I needed. I've mentioned to a few of you that I was starting to worry that short real training on how to make croissants I wasn't going to get them to be any better and this week put that fear to rest. Next week I want to think about the butter block a bit more and may add more butter (butter!) so that I can use a thicker butter block but not thicker folds of dough as I think the dough was a bit too thick between the layers and resulted in the layers being too puffy.
For a closer look at how well they puffed up this week. The first picture is before proofing. The second is just after.


A deep dive on yeast
OK. Time for a deep dive on yeast. First, yeast is a fungus like mold or mushrooms. Second, there are lots of yeasts, the one we bake with (and have baked with forever) is called Saccharomyces cerevisiae. It turned sugars into gases and alcohol. This is not true for all yeasts, in fact its a bit rate hence why we almost always use this one type and also why we simply call it yeast.
Historically yeast was grown by souring dough in your house, aka sourdough. I'll go more into what this even really is next week (when I learn). Around 1780 Europe started to figure out how to produce yeast that could be sold and did so first via soupy bags of yeast. A bit later they figured out how to remove much of the water and first produced what is now called "Fresh Yeast". It wasn't until almost 100 years after being sold commercially in Europe that commercial yeast caught on in the United States.
While Fresh Yeast was a product that could be sold and didn't require a person to feed it (like sourdough) it doesn't have a long shelf life and so it was not good for soldiers as it would go bad too quickly. In the midst of world war one Active Dry Yeast was created. This is yeast that is dehydrated even more. This process results in killing a fair amount of yeast causing the yeast to clump which is why active dry yeast looks like longer strains (its mostly dead). Because active dry yeast has a large amount of dead material, you are advised to bloom it which allows the living yeast time to reproduce.
In the following years, a process to dehydrate the yeast quickly and thus not kill as much of it was created. This process creates a product called "Instant Yeast". This is instant because unlike Active Dry Yeast, Instant Yeast does not need to be bloomed.
Here is more of a break down of how the yeast effects the baking process.
Fresh yeast - While this is still around today, its hard to find as its short shelf life make it too perishable for most stores to stock. To be honest, I want to find this and buy it just because a block of solid slightly moist yeast seems so foreign to me I need to see it with my own eyes, but I'm not going to go out of my way to make that happen.
Active dry yeast - you must bloom this. I've used this yeast in every single recipe so far and only by following these instructions have I brought this dehydrated product back to life. That said, waiting 10 minutes with a cup of 110 degree slightly sugary water isn't much work.
Instant yeast - The pull for instant yeast is that it does not need to be bloomed. Also, since more of the yeast is alive than with active dry, you need less yeast total in your bake. Another claim (hard to tell if this is true) is that because instant yeast doesn't need to be bloomed, it can be mixed into your dry ingredients and thus mixed in more evenly than by doing it with the water. This sounds legit on paper, but it's hard to know how I'd test that.
So, which yeast is best? I have no clue. I've only used active dry! That said, I suspect that the answer to this question is "whatever one you are used too". Each yeast requires a different process which means different signals you need to learn to read. How do you break a block of yeast into a ball of dough? How do you know your instant yeast isn't bad if you don't bloom it? How do you know your active dry yeast is fully bloomed? All of these questions are answered by practice and time and while many people will try to tell you the answer on the internet there is nothing that can replace learning with your hands, eyes, ears and nose. So, I'm going to keep doing what I've been doing and use active dry.

Thank you as always for reading. Next week I hope to be writing to you about sourdough croissants. To those of you with advice on how to know if a sourdough starter is ready your advice on how to make that call would be great. Tom (I hear you are supposed to name these things) smells good, passes the float test, and looks like marshmallow but isn't doubling in size each day. Will it be strong enough to leaven my croissants? Help please!
-Matthew