
While my last email pointed out the failures of the first batch, I was feeling pretty good about my innate skill to make croissants. People liked them. They mostly looked like croissants. I assumed I knew what to improve in the second batch. But those technical improvements were not enough, I also needed MORE croissants. And, I needed to try a new butter because I felt like I was skipping out on the key ingredient. And then, when I realized I could get local flour, I just had to use it. If I had stepped back and counted the changes I was making, I'd like to think I would have stopped, but it wasn't until I had fully worked the dry flour into the wet ingredients and the ball was still very wet that I realized how far from the original recipe I had diverged. Pride comes before the fall, and the enthusiasm blinds us all.
Expert rating: 3 out of 10
Expert review: "They tasted like...bread? Not super buttery, not enough salt and not a lot of air. Grateful for fresh bakes anyways. :)"
The expert above is Caitlin, my wife. In reviewing this post, she suggested that a ranking system would make how the batch went clearer, and so I asked her to be the judge and throw in a short review as well. As you can see, there wasn't much room for praise. Below I'll cover more about what went wrong, but the main culprits are using a new flour, trying to scale the recipe too far and letting proof go on for too long. Next batch I'll be going back to the flour from batch 1, doubling the recipe rather than tripling it. This week also was plagued by a five hour proof as I needed to sleep. Lets hope that can be avoided in batch 3.
The first five of these emails are going to be based off the the same recipe and the in-depth section that follows will go deep into a different part of the process. Last week I did the recipe more or less verbatim and talked about the general shape of the process. This week, I'll be talking about what goes into the dough and mixed together. Next week I'll cover the process of making the dough and butter blocks.
Enriched dough & Enriched flour
A question that came up when talking with a few people this week was "What is enriched dough and is it like enriched flour?"
Googling around, I found an article that described enriched doughs as "doughs are made with the good stuff: milk, butter, eggs, and/or sugar." In the case of the dough I'm making for these croissants, its butter, eggs and sugar. Adding these fats is the enriching process. If we didn't add these fats it would be a lean dough.
Enriched flour is "enriched" with nutrients rather than fats. This is normally done with refined flour, as nutrients are lost in the refining process. To make the flour closer in terms of nutritional density, the manufactures add back what is lost.
The Ingredients
There were problems throughout this so please don't use what I've listed out below, but these are the ingredients in this bake. I started out by scaling the ingredients from our base recipe by 3 times and then needed to add a bunch of flour to get the dough to not be a wet mess. If you are looking for a croissant recipe to make yourself, please use the one linked to and then send me pictures!

(from left to right)
- 15g Real salt
- 18g Red Star active dry yeast
- 3 yolks
- 75g Kerrygold unsalted butter, melted
- 90g Whole Foods brand cane sugar
- 390g of water @ 100f
- 930 grams soft red flour from Migrash farm.
Other than the yolks, you'll note that all of the measurements are in grams. This is because we want to be precise about the ratio of water, flour and fats. Croissant dough needs to be supple enough to be easily rolled out without sticking to the counter and parchment paper. While one can try to be consistent when measuring out volumes, it is hard to know if you have over packed an ingredient while scooping it out. On the other hand, 930 grams of packed flour weighs the same as 930 grams of unpacked flour, and so you can be sure of its weight via a scale.
Weights are also key when scaling any recipe as many ingredents do not scale their weight in proportion to their volume. For light and airy ingredients like flour, this is even more true. This is because as you add flour to your measuring bowl the flour at the bottom of the bowl gets compressed by the flour above it. This results in a change in density through out the flour so that the bottom cup of flour weighs more than the top cup.
Blooming the yeast

Once I have all the ingredients measured out, I pour the yeast into the warm water and take a pinch of the sugar and drop it into the water as well. This process is called blooming the yeast. You probably don't need to pinch in the sugar, but I like to feed the little yeast creatures.
Mix the dry ingredients

The internet tells you to not scale croissant recipes. Even the guy in the video I've been using as my recipe and guide tells you to make the recipe twice rather than double it. I'm just not really listening, which is maybe a problem.
Part of why they tell you not to scale recipes is because getting the salt, sugar and flour to be well mixed is a bit unpredictable and an uneven distribution can result in the chemistry of the bake not working. My justification for not heeding the advice of other-people-writing-on-the-internet is that uneven distributions sound like the product of poor mixing and so, I try to mix well. Clearly, I'm not one to be listened to as an authority on baking in general and croissants specifically as seen by my results, so you should probably not scale the recipe.
Mix in the wet ingredients
Once the yeast has bloomed enough that you feel confident that it is alive (that is most of the point in blooming I think), pour it, your eggs and melted butter into the dry ingredients the make a ball of dough.
To do this, I've been starting out with a wooden spoon until the liquids are all absorbed and then I've been moving to my hands to knead the dough.
Part of the reason I chose this recipe is that it doesn't call for a kitchen aid. Most croissant recipes tell you to simply pour all the ingredients into a big bowl and then, using a bread hook, mix it. Since I can't do that, following a recipe that is all hands and hand tools is comforting. It does mean a decent amount of smooshing the dough though.
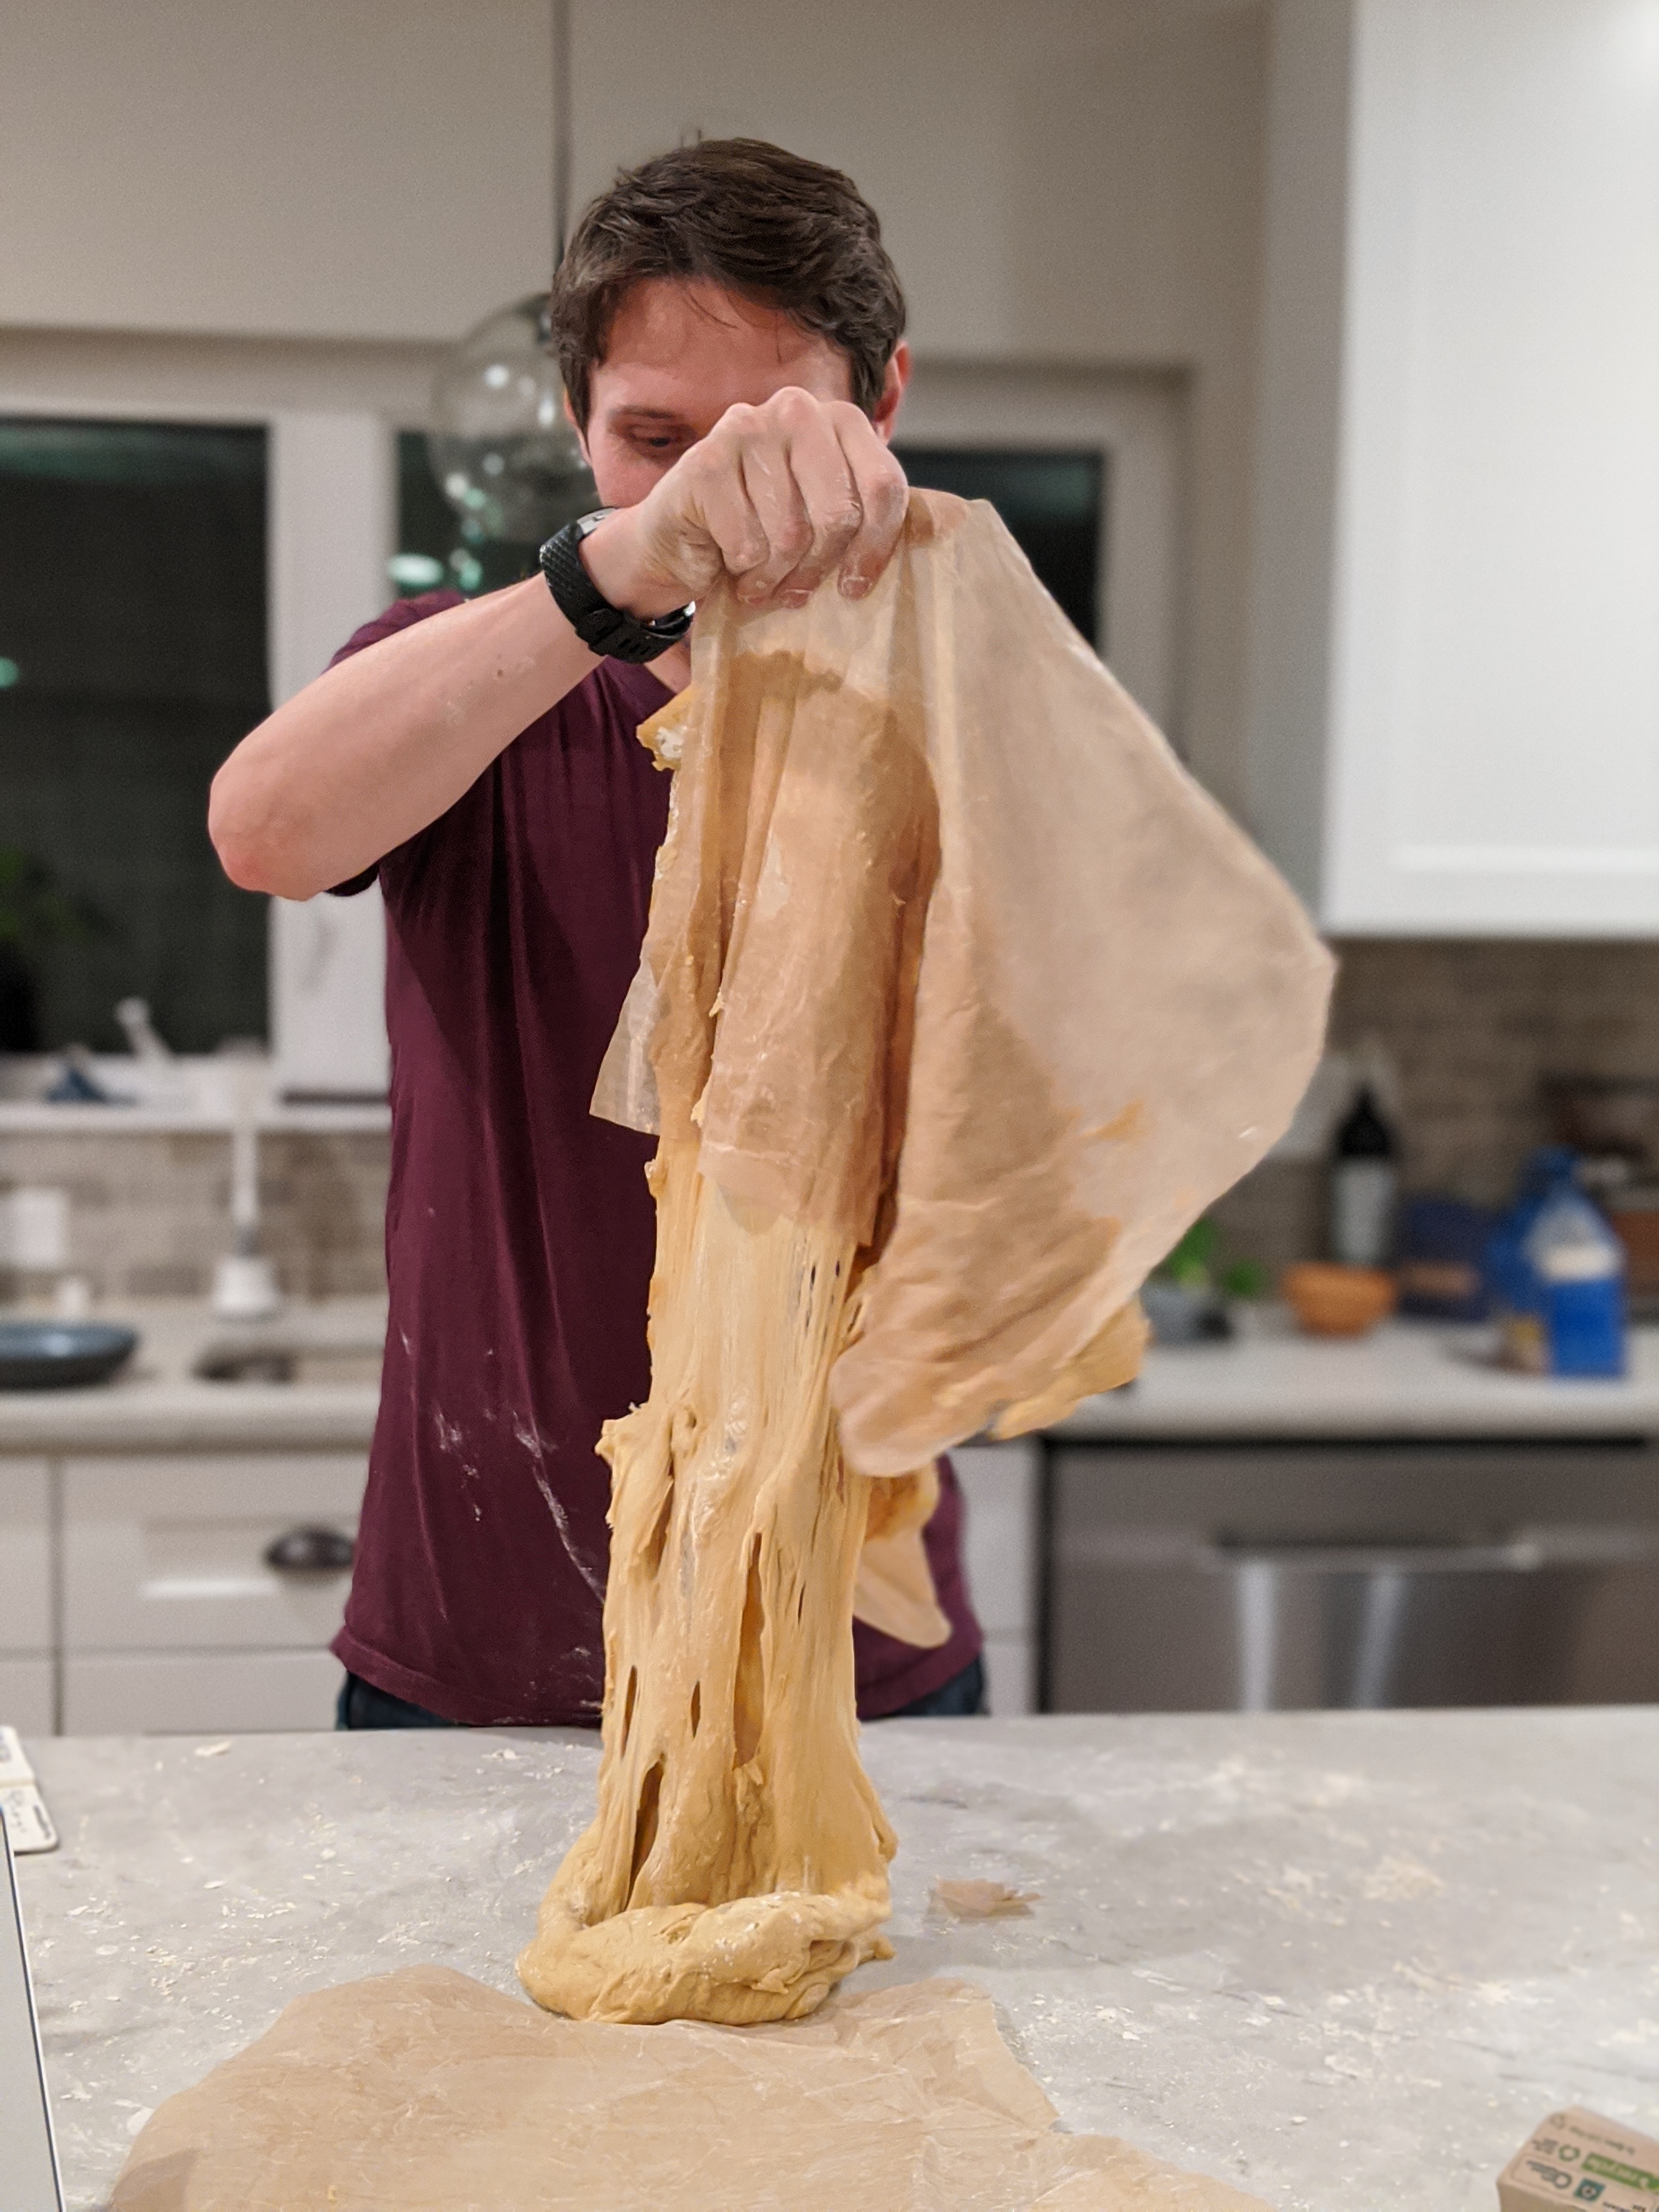
One thing that has been cool to learn by feeling and seeing, is how a dry ball of dough gets moister the more you work with it. There is part of me that wants to research why this is more, and maybe that will be a later email. What I've taken away so far is that you want your ball of dough to not be able to collect all the flour at the start of kneading as it will moisten up and thus want more flour as you work it. It was realizing that this was not going to happen with this batch that made me realize I was not going to make good croissants this week. The dough was a wet mess and even after adding 180 grams of flour it still stuck to the parchment paper so much, my wife and I scraped the dough off and rerolled it.
Rest and Turn
Once the dough is smooth, it needs to cool down and rest in the fridge in a bowl under plastic wrap. My current understanding is that this is to allow the gluten to relax, but I'm not really sure.
Oh! So sticky! This really shouldn't be sticky to the bowl like this.
Once this rest is done, you take the ball of dough out of the fridge and "turn" it. Basically this is taking the dough from the top and making it the dough in the middle of the ball, while moving the dough from the bottom to the top, and the dough from the middle to the bottom. This is one of those things which is much easier done than said. First you pinch and pull a bit on the side of the ball, then you fold that pinched part back into the top of the ball of dough. Second, you repeat all the way around the dough ball making sure to work the pinched parts together at the top and taking care to not rip the dough.
You need to do two turns, with a 10 minute rest between them.
The rest of it
Once the dough is fully rested, you shape it into a block and let that block rest of a long time. I did about 21 hours for this recipe. After that you follow on with steps 2, 3, 4 and 5 as outlined in my last email. Since I'll be covering them in depth the next couple of weeks, here are pictures from this batch with a few asides.
Step Two: Make the butter

Step Three: Laminate the dough


Step four: Proof & Bake

I finished laminating the dough at 1:30am and so there was no way I was waking up at 4am to proof the dough and so I let the these croissants proof for five and a half hours which was way too long and while the croissants had doubled in sized, they had also lost their rise as you can see in the post proof shot below.

Step five: Eating them

A friend from church came over for a semi-weekly prayer meeting and ate two right out of the oven, which was a kindness as I could only eat one.

I took the rest to work, part of the reason I wanted to make a triple batch, and by the time I got to work they had cooled and thus dried out a bit, resulting in something more like a butter bread. At least one person complimented me on my brioche, a few others took the route of slicing them like bread, toasting them and eating them with jam. All in all, they were gone within an hour of being at work, so, while very much a failure, it was fun to see them enjoyed. That is really the point of this whole endeavor, making something with my own hands and giving it to others.
I hope you have enjoyed this weeks issue of my croissant adventure. Please feel free to reach out and ask questions / give feedback on both the structure of this email and my baking.
Regards, Matthew Chase Whittemore