
Somehow, in the process of planning for this first batch of croissants, I came to the conclusion that the right time to eat homemade croissants was in those precious moments spent waiting for my first cup of coffee to cool to its ideal temperature. And, since clearly one needs to eat a croissant while the smell of it baking is still in the air, I found myself waking up at 3:45am on Thursday morning to roll out, cut, shape and set my first batch of croissants to proof so that I could have them in the oven by 6:30 and out by 7. The work paid off, even if they were much more like crescent rolls than croissants. Crescent rolls are a consolation prize, it turns out. Though, next week, I really hope I pull out croissants! Below is how I came to make these wonderful little failures. But first, context!
What is a croissant?
A good handful of you reached out in response to my intro newsletter asking some version of "What makes a croissant different than a danish or pain au chocolat?" Or, maybe more simply put "What is a croissant?" And really, it's a great question as what makes a croissant a croissant and not, say, a crescent roll, is key to the process and how I failed this first week.
So, what is a croissant?
A croissant is a rolled baked good made by letting laminated dough rise just before baking it. The laminated dough can rise because it has yeast and sugar in it. And it's a laminated dough because many thin layers of dough are separated by many thin layers of solid butter. In the oven these thin layers of butter melt away helping the already raised dough poof up more and resulting in many thin flaky layers.
What is a crescent roll?
Rolled baked good made by letting dough rise before shaping it and baking it. When cut open it looks like bread. There are no layers, just a buttery delightful dough.
What is the process for baking a croissant?
You'll note that I didn't talk much about the ingredients of a croissant. From what I can tell, enriched dough and butter are all that matters. How you make an enriched dough depends on what is at hand and maybe what kind of flake you want (we'll talk about this when we talk about flour in a later post).
For this batch I chose to follow a recipe I found on youtube. It calls for eggs and melted butter, something many other recipes I read left out. It also does not use milk, something many I read included. I chose this recipe not because of the ingredients, but because it was the only one I read that did not strongly recommend a kitchen mixer with a bread hook. I'm not going out and buying a kitchen aid just to learn to make croissants!
What all the recipes have in common though is the steps. Here they are.
- Make the dough: Mix bloomed yeast with flour, sugar, salt and egg yolks into a dough ball and then shape into a thin square block.
- Make the butter: Shape butter into smaller thin square block.
- Laminate the dough: Wrap the butter in the dough and long rectangle then fold the rectangle back into a square and repeat until you have the right number of layers (croissant purists say 27).
- Bake: Cut long triangles out of the dough, roll them starting with the short base and then let them proof (aka, rise) before coating them in egg wash and baking.
- Eat: Let them rest while you make your cup of coffee and enjoy the smell of melting butter.
Its just five steps!
Well... let's pretend its just five steps for this first batch. I don't want this single email to become a book! I plan to dedicate an email to each of these steps in the coming weeks to give us adequate space to geek out on questions like "what yeast to use" or "what does the fat content of the butter do to the croissants?" By the way, if you have any questions, please feel free to reply to this email. Your reply will come to me and only me, no need to worry about spamming the other readers or the email getting lost in the internets.
Make the dough: Tuesday night
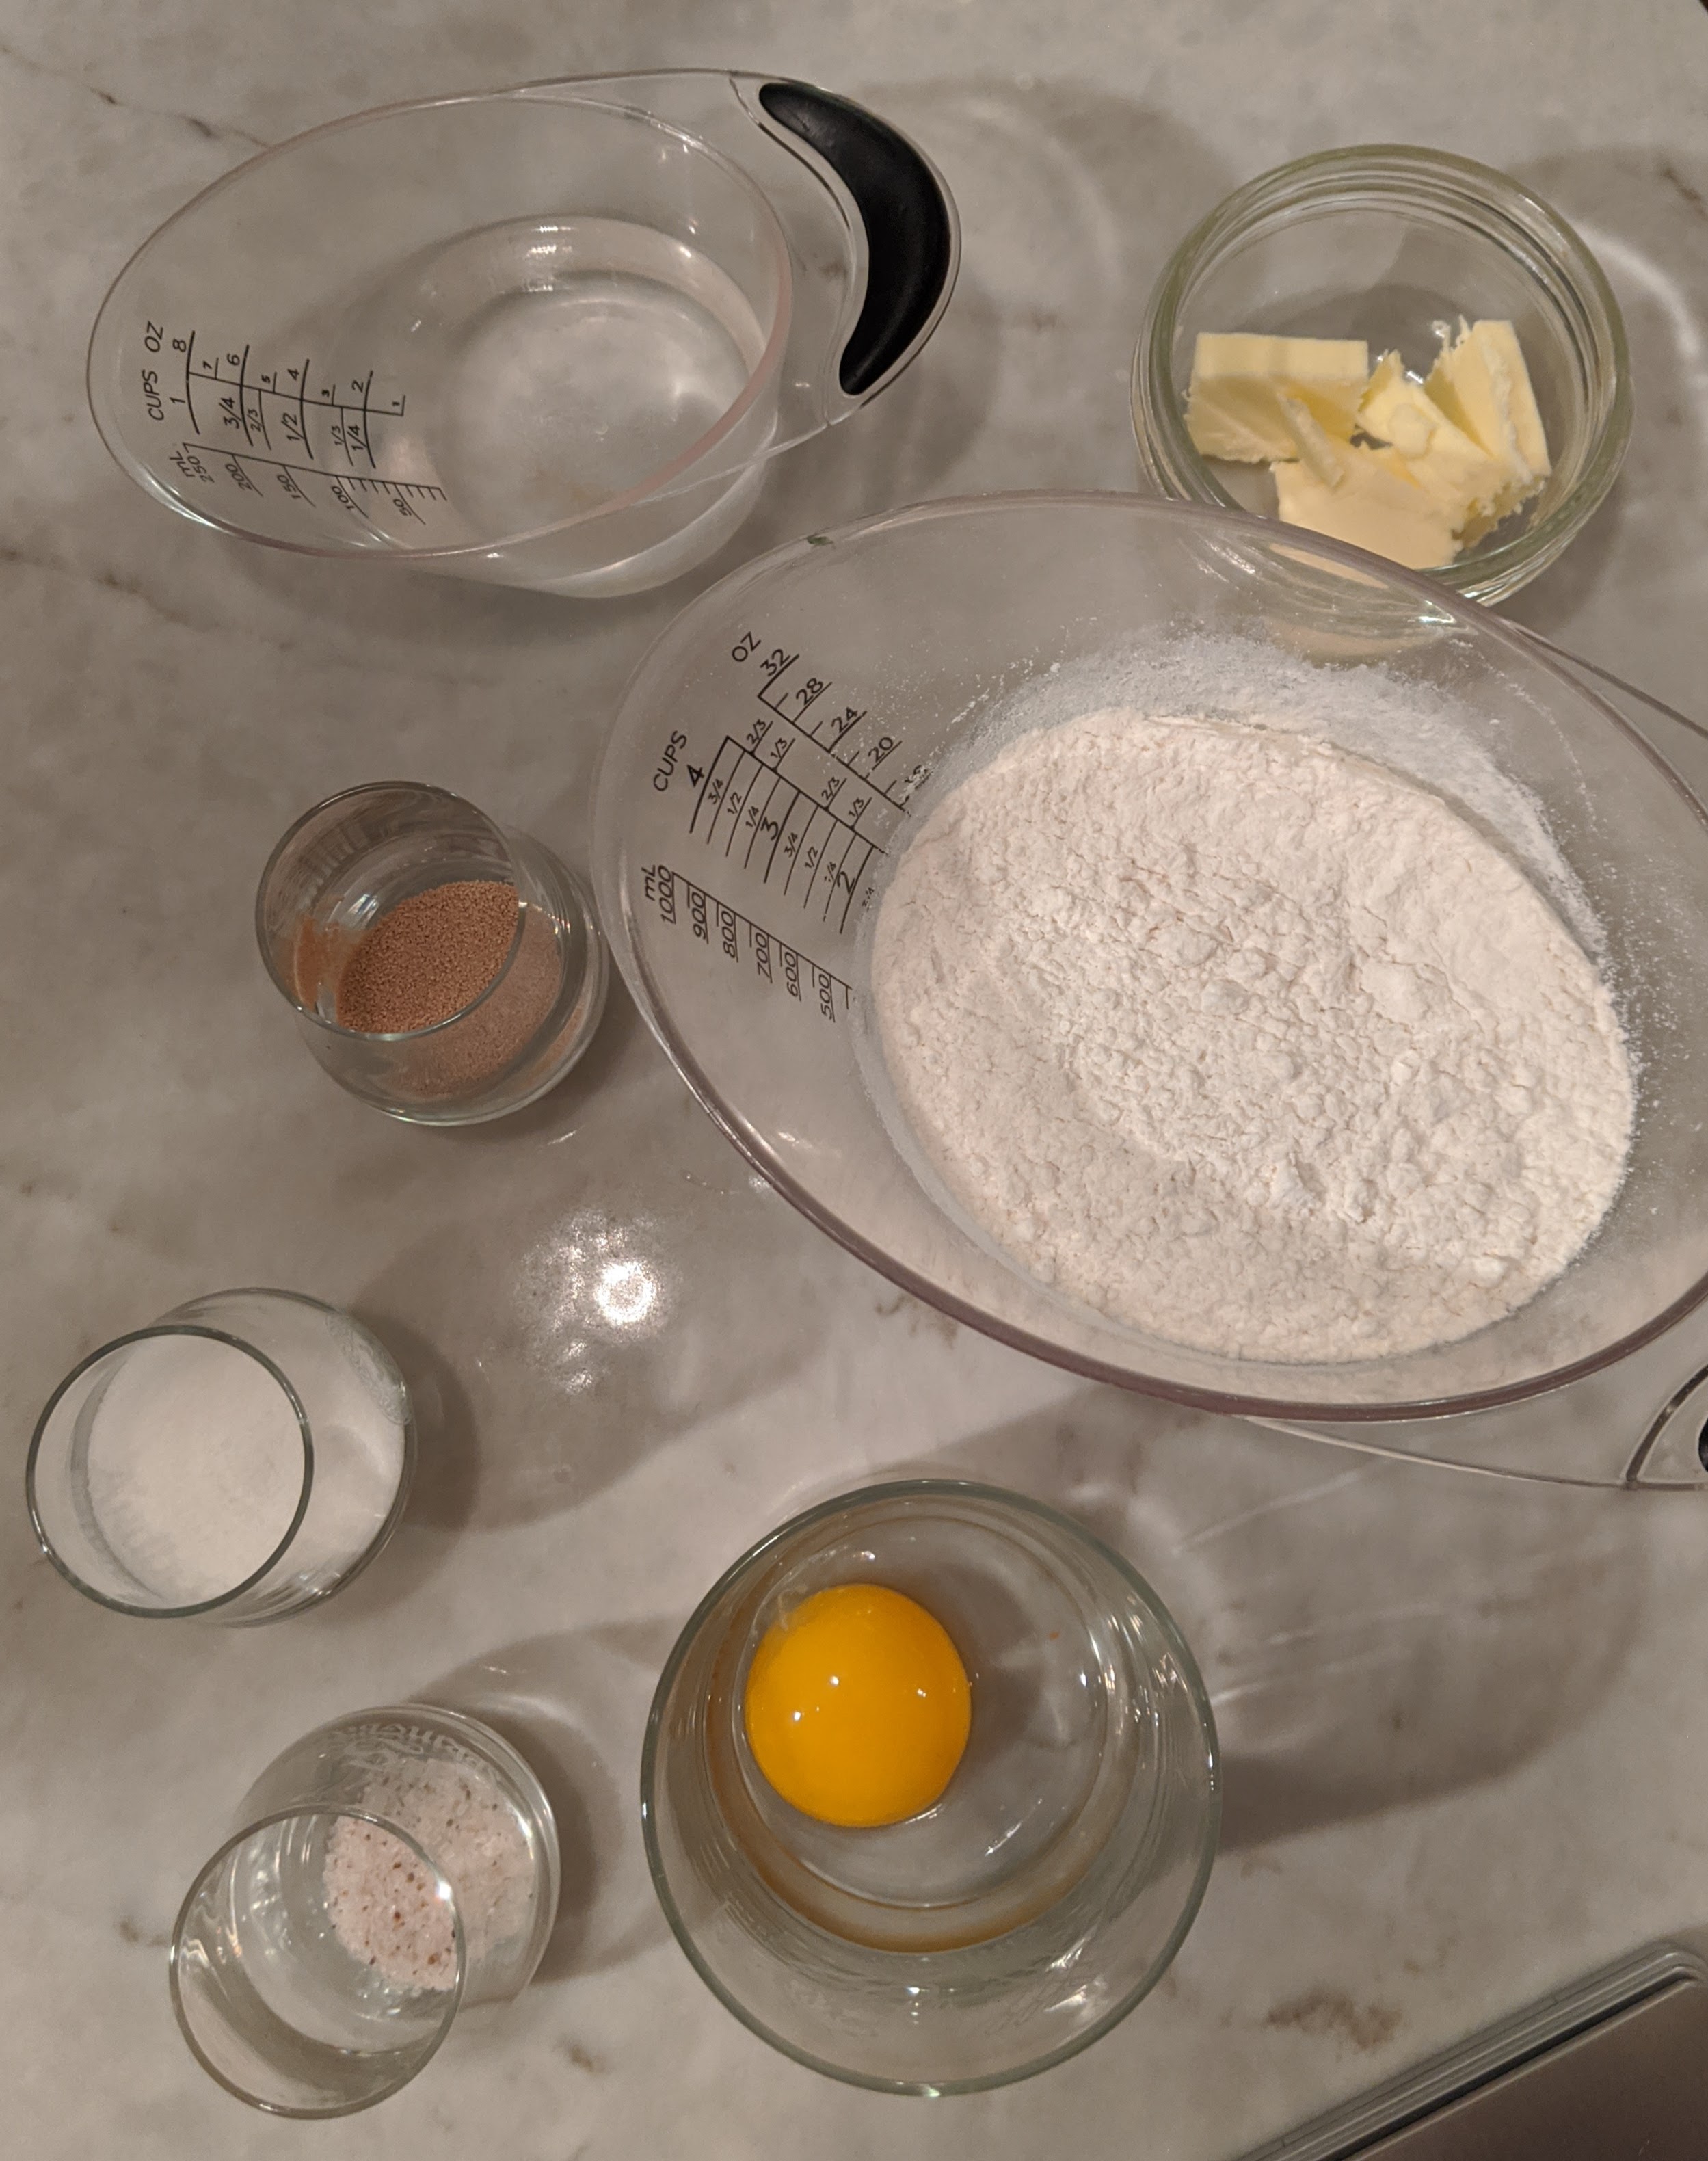
Making the dough went mostly OK. Here are my ingredients all weighed out (yea, they need to be weighed).
And here is the dough ball before it rests in the fridge and is then shaped into a block. As you can see, the dough ball is not very smooth. I think this is the start of my problems...

And here is the dough wrapped in wax paper and shaped into a brick, ready to rest in the fridge until Wednesday night.

Make the butter: Tuesday night
In many ways the easiest part and also the part I think I screwed up the most as the recipe instructed me to do this step just before wrapping it in the dough, but to utilize time better I choose to make this block on Tuesday night rather than Wednesday night, resulting in overly hard butter. I won't make this mistake in batch 2! Butter needs to be malleable when you roll it out and this was way too cold!


Laminate the dough: Wednesday night
Ah! The fun part. I really like laminating dough. I've done it a few times before to make puff pastry. If I didn't feel comfortable that I could at least do this step I wouldn't have started this newsletter. That said, the cold butter from above shattered rather than flattened when I rolled it out. The little islands of lighter yellow are the shattered butter below the dough. What we should see here is a uniform smooth surface. There are also a few spots where the dough did not seal in the butter. :(

The recipe only used 2 folds and I suspect this is a design flaw in the recipe as I think the max number of layers I could have gotten was 12 rather than the ideal 27. I can still use the same ingredient list next time and change up the folding instructions.

Bake: Thursday early morning
As you can see, this recipe only made 5 full croissants and two half croissants. While the fold is below par, only making 7ish croissants is the real problem with this recipe. I thought a lot about scaling it for this first go, but chose not to. If I repeat this recipe next week, I will most definitely be scaling it up.

So much bigger now that they are proofed.

I am really happy with what they look like. Looks might not be everything, but in croissants, they are something.

Eat: Thursday, coffee time
The real test for my croissants each week will happen when I cut them open. I want to see lots of wonderful layers! That is why I'm making croissants! Sadly, here is what I saw this week.
That said, they tasted good. My son at least loved them! My wife, mother-in-law and few friends enjoyed them. They were, we all agreed, at least marginally better that what one can buy from Starbucks. I hope to do better than that! But I'll take what I got for a first go.
Thanks for reading! Again, please email me questions and feedback on baking croissants and the newsletter. While I am talking about learning how to make croissants, I'm also learning how to write a newsletter, so your suggests for both would be great!
Regards
Matthew Chase Whittemore